Related Resources
Did you know that a cat is an honorary mayor of an Alaskan city?
The feline friends aren’t only cute and fluffy, but, as it turns out, they also excel at politics.
Jokes aside, cats are among the most popular pets because they’re smart, soft, and, if you’re lucky, cuddly. But illustrating them might not be as pleasant, especially if you’re a beginner.
If you ever wanted to learn how to draw a cat but struggled with it, this guide is for you:
Expert Illustrator Shows How To Draw A Cat
Gonçalo Lopes, the lead BioWars artist, created step-by-step illustrations to take you through the process of drawing a cat from scratch.
The tutorial is beginner-friendly, so even if you’re not a particularly artsy type, you’ll be able to follow Gonçalo’s expert guidance.
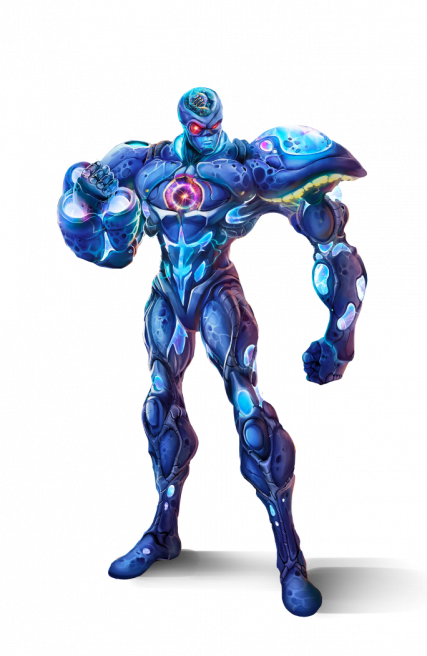
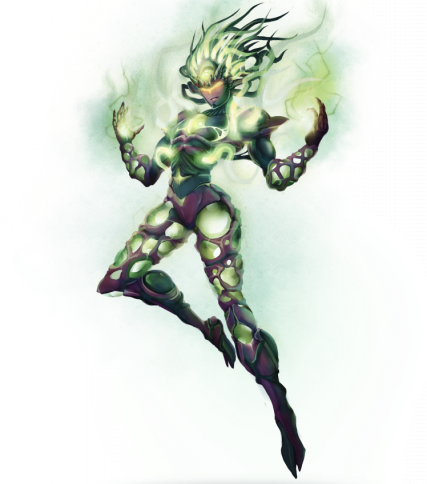
While we’re on the subject of illustrations, did you see what the characters of the BioWars comic look like?
The fearless BioWarriors protect the lead protagonist’s inner cosmos from microbes attacking him. There are no cats involved, but the warriors of the immune system are pretty cool, too. Plus, they work hard to keep us all healthy!

The Tools You Will Need When Learning How To Draw A Cat
To draw a cat, we suggest you use the following tools:
- An H pencil to draw the basic shape
- A 4B pencil for shading. These pencils have a softer lead, so they leave a nice, dark mark which is perfect when adding dimension to your drawing.
- A kneaded eraser to erase sketch marks
- Sketch paper with micro-perforations because it allows to easily apply corrections
Now, let’s break Gonçalo’s video into several steps so you can explore them at your own pace.
How To Draw A Cat Step-By-Step
To get started on drawing a cat, we’re going to sketch some basic shapes first.
This step is key because it allows you to create a proportionate drawing.
1. Draw The Base Of The Cat’s Body
Many people make a mistake and immediately jump into drawing a cat’s head with all the details on it, but they usually end up messing up the ratio between the cat’s body and its head.
So, let’s draw three circles first, one for its head, the belly and the legs.
While you work on the outline, try not to apply too much pressure on your pencil because you’ll delete the necessary parts in the end.
Now, the top circle for the cat’s head should be the smallest.
The second circle should be slightly larger than the first one, but not too much because kitty bellies aren’t usually big unless the cat needs to diet. Make sure that the second circle touches the first one.
The third and final circle should be the largest of the three. This is the area where you’ll later add the cat’s legs.
When drawing the bottom circle, make it so that it covers about two-thirds of the belly circle, like this:
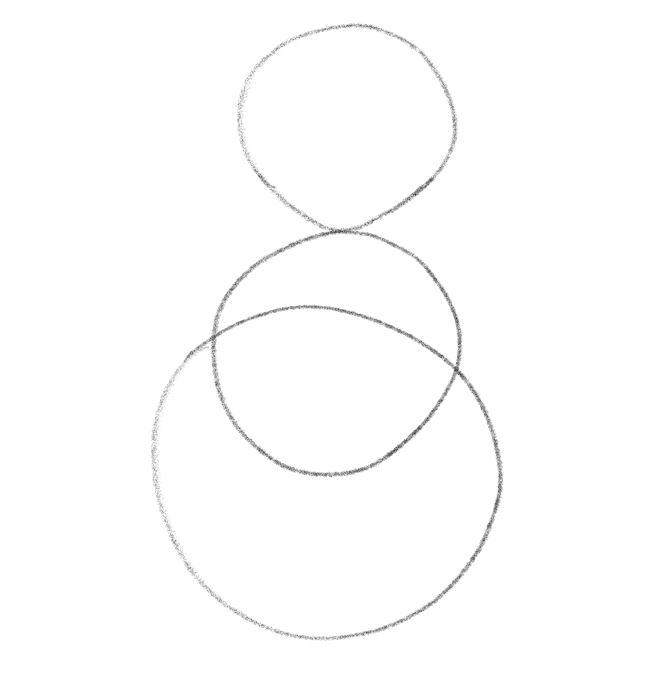
At this point, your sketch looks more like a snowman, but that’s about to change!
2. Add The Cat’s Ears
Cats have cute and small ears that allow them to hear both higher and lower frequencies than you can. In fact, their hearing is about three times more powerful than yours.
Now, drawing the cat’s ears is quite easy. You should just draw two triangles but without their bases.
Next, draw two lines that go from either side of the cat’s head and draw them toward the belly.
Can you see the cat’s upper body slowly shaping before your eyes?
3. Draw The Cat’s Legs
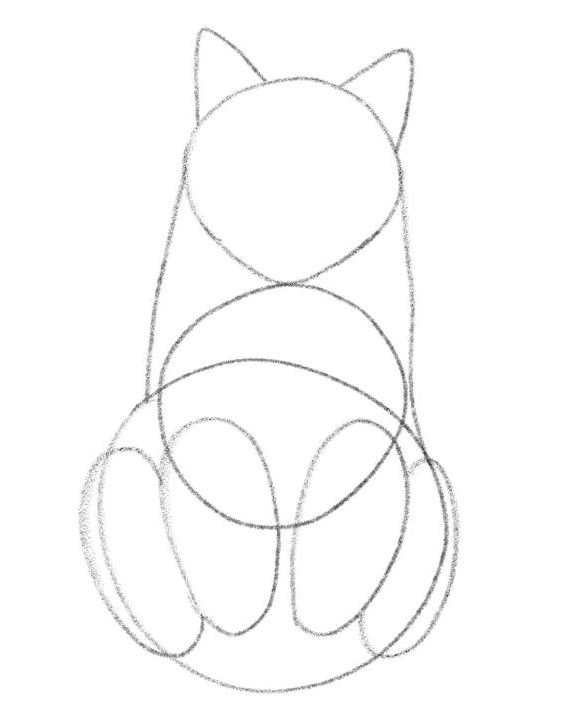
The cat’s legs are short and cute, but can seem complex to draw when you’re a beginner.
As always, we’re going to simplify the process and draw the basic outline of the legs first.
Gonçalo drew the cat’s legs like four fluffy loaves of bread, like this:
4. Illustrate The Eyes, Nose And Mouth
Once you complete the outline, next comes adding the details to bring your drawing to life.
First up, let’s give this cat the eyes, nose, and mouth.
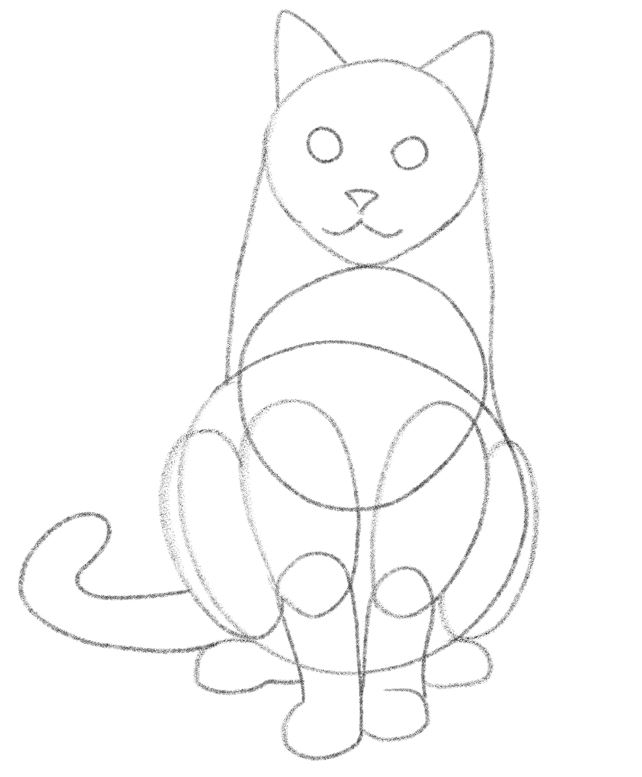
The easiest way to sketch the eyes is to draw them as two circles. And that’s enough for now.
For the nose, you can draw a triangle, while the mouth should resemble a reversed letter “m,” but softer and wider than usual.
5. Sketch The Cat’s Paws
The cat’s paws are arguably the cutest part of its body.
If only they were kind enough to let us play with them without scratching us with their claws…
Ok, back to your drawing.
Take a look at the image above to see how Gonçalo illustrated the paws.
Notice how the front legs almost look like boots.
When you get to the paws part, try to make them round and chubby.
As for the hind feet, you should draw them slightly longer than the front feet because the cat is sitting and its hind feet are more facing the outside.
6. Add The Cat’s Tail
The cat in the video tutorial is a chill one.
It is sitting peacefully, so her tail is in a relaxed position.
You can draw it slightly curved next to the cat’s body, as Gonçalo did.
When drawing the tail, just pay attention to its width and length since they should be proportionate to the cat’s body.
7. Draw The Pupils
Cats’ eyes are among the most unusual in the animal world. And that’s not just because of their color, which can range from cerulean and yellow to piercingly green.
Their pupils are vertical!
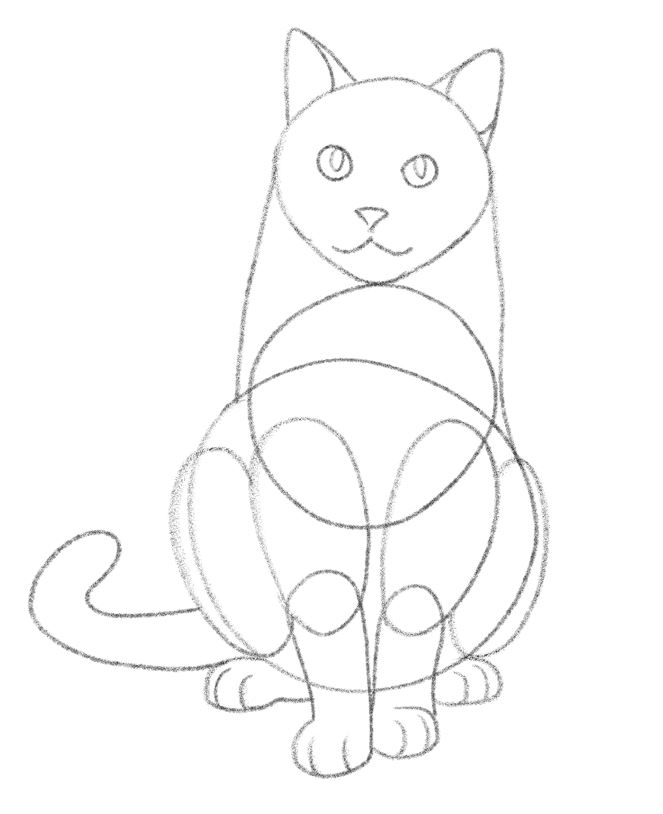
So, when adding pupils to your drawing of a cat, sketch two tiny oval shapes inside the eye, like this:
8. Sketch The Toes
Next up, let’s add two lines to each paw to illustrate the toes.
The lines should follow the outer arch of the paws.
Et voilà, the basic sketch of a cat is not finished!
9. Illustrate The Whiskers
When you look at the finished outline of the cat’s body, you’ll notice that the majority of it looks geometrical, with all the circles, triangles, and oval shapes.
So now, we want to add some details to the illustration to make it look realistic.
Let’s draw the whiskers first.
Did you know that cats have 24 whiskers, 12 on each cheek?
The cat’s whiskers are like radars that help cats maintain balance and detect changes in their surroundings.
Now, you don’t have to draw exactly 24 whiskers. Instead, three or four whiskers on each side will suffice.
While sketching the whiskers, don’t apply too much pressure to your pen. Try to loosen up your arm and use short, light strokes.
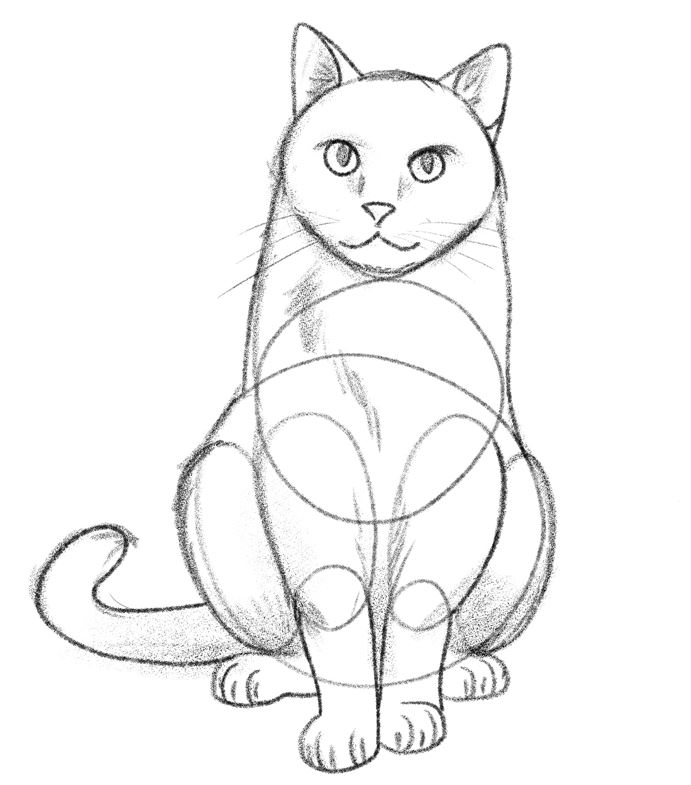
Since all the elements of the cat’s body are there, you can make the outline thicker and darker.
10. Draw The Cat’s Hair
To illustrate the cat’s fur, you can draw some wiggly and short, straight lines on its chest, legs and tail.
Gonçalo also drew brow bones just above the eyes and the nose bridge.
11. Add Dimension To Your Drawing
Now’s the time to make the cat look realistic, and we’re going to achieve that with shading.
Gonçalo colored the cat’s pupils and added shade around its eyes, nose and ears.
When shading, we suggest you hold your pencil at a slanting angle. You can grab a 4B pencil now because it leaves darker marks than an HB pencil.
Since the cat we’re drawing is sitting, you should make the bottom of its legs and the root of its tail darker, since those parts are closer to the ground.
12. Erase Unnecessary Elements
To finalize your cat drawing, let’s remove the parts you don’t need anymore.
Grab a kneaded eraser and remove the parts of the circles in the middle of the cat’s body.
Now, let’s soften the lines around the cat’s face a bit.
The reason we want to do this is to make it look fluffy, the way cats are in real life.
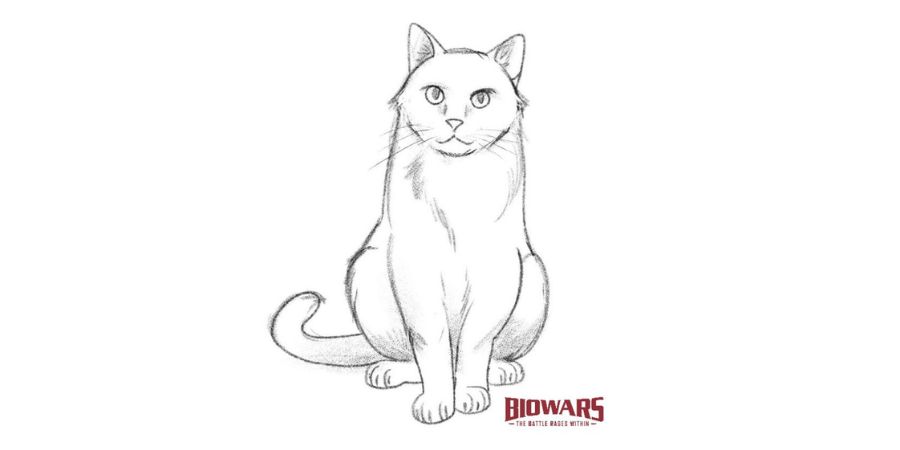
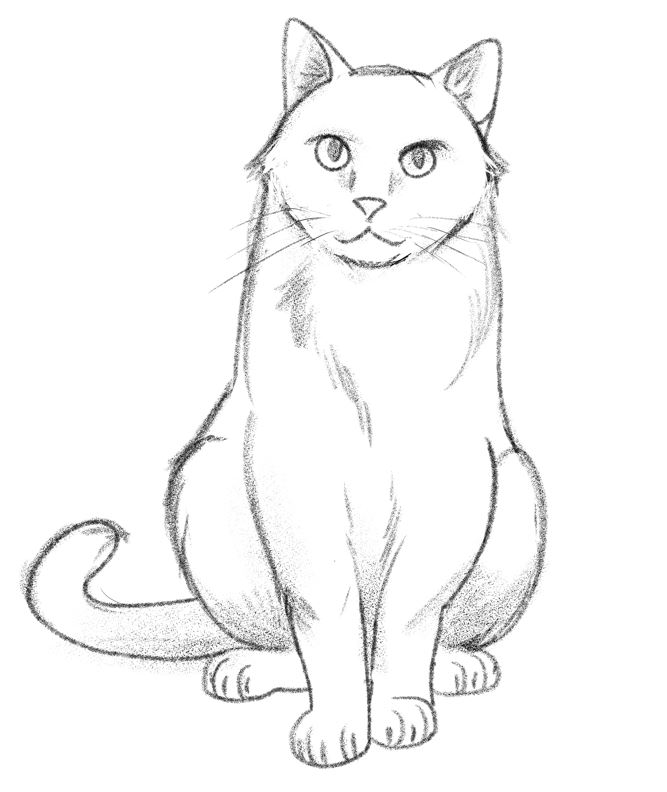
This is what the finished cat drawing looks like:
Finished Your Cat Drawing? Try These Next!
Now that you know how to draw a cat, don’t stop here!
We have created a bunch of simple how-to-draw guides that you can use to further improve your artistic skills, including:
And many more how-to-draw tutorials!
Recap On Drawing A Cat
When learning how to draw a cat, start by establishing its size by sketching three circles, one for her head, belly and legs.
Then outline the legs and connect the top circle with the bottom one.
Next, you should draw the ears, the eyes, the tail and the paws, to finish the basic sketch.
Once you get that out of the way, next comes drawing the whiskers and hair, and shading the drawing to achieve a realistic look.
