


Related Resources
Wolves are highly-intelligent animals with an impressive sense of hearing and smell. These remarkable hunters are selflessly devoted to their pack and they also mate for life!
If you’re as fascinated by them as we are and you want to learn how to draw a wolf, this is just the guide for you.
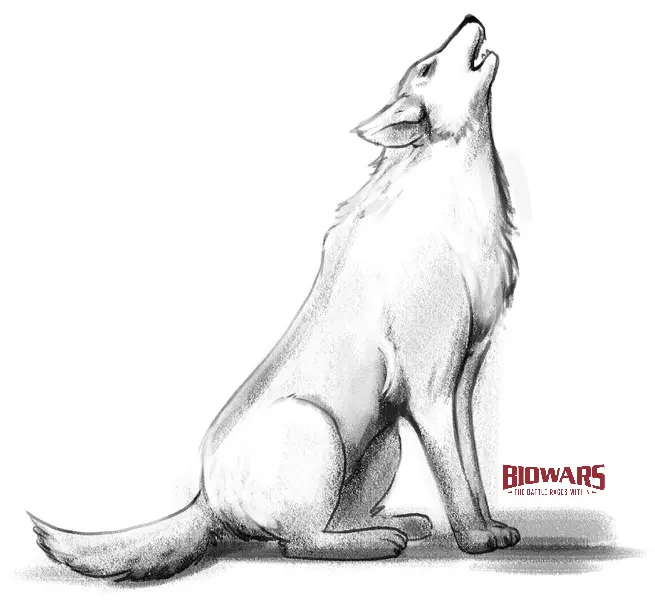
We put together a beginner-friendly tutorial to help you create your wolf drawing the easy way. We’ll show you how to sketch a wolf as it howls (at the Moon or, you know, to let its missus know its whereabouts):
To break down the video step-by-step, keep reading to see images that illustrate each stage of the drawing.
The Tools We Recommend For Wolf Drawing
Although any kind of pencil works, these tools could make the process of drawing a wolf easier:
- An H pencil: A hard lead is the best choice for beginners because the light trace is easy to erase if you make a mistake while drawing a wolf. This lead also doesn’t smudge, which makes it ideal for outlining.
- An HB pencil: The neither too dark nor too soft lead is perfect when adding light shade and details to your sketch.
- A kneaded eraser: You can change the shape of kneaded erasers depending on what you want to erase. Also, this type of eraser comes in handy when highlighting parts of your wolf drawing.
- Lightly textured sketch paper: Your strokes are bound to easily glide over the paper’s smooth surface, ensuring an enjoyable drawing experience.

How To Draw A Wolf In 5 Steps
The easiest way to learn how to draw a wolf is to start simple and use basic shapes to craft a more complex drawing.
So, grab your pencil and paper, and let’s begin!

Step 1. Draw The Base For The Wolf’s Body
Recommended tool: H pencil
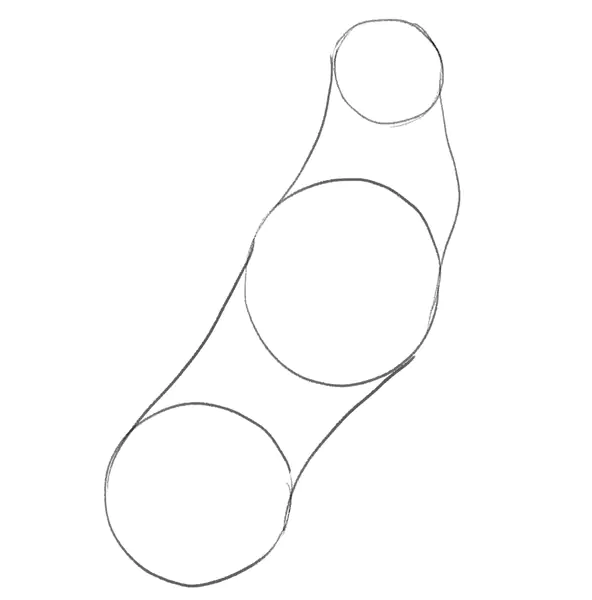
The first step to drawing a wolf is to sketch a circle — it’s as simple as that!
This circle is where the wolf’s chest will be:

Next, add another circle below, but make it smaller than the one above. The wolf’s back legs will be here.
To position it, picture a diagonal line going through the middle of both circles.
Leave some space between the chest and the lower part of the wolf’s body, like this:

The third and final circle is where you’ll draw the head later on.
The wolf’s head is smaller than the rest of its body, so make sure your sketch reflects that.
Again, make some space between the chest and the head.
As for positioning the top circle, draw it parallel to the left side of the middle circle.
We’re drawing a wolf howling, so its head will slightly lean toward its back:

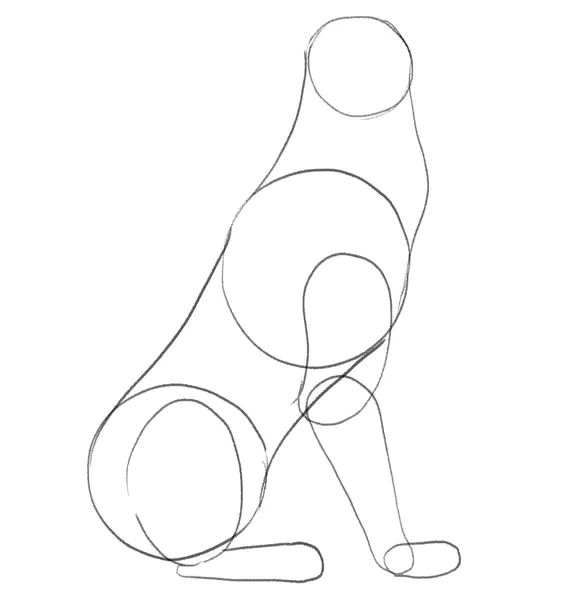
The next step is to connect the three circles like this:
Step 2. Draw The Legs
Recommended tool: H pencil
Once you draw the basic outline of the wolf’s body, it’s time to add the legs.
Start by drawing the front right thigh.
You can shape it like a kidney bean and have it start at the middle of the chest.
The thigh should reach the middle between the wolf’s chest and the lower body:

Next, draw the lower leg and the foot.
Start drawing the lower leg at about one-quarter of the thigh’s length. The lower leg should be one-third longer than the thigh.
As for the foot, sketch it as a small, horizontal oval shape:

To draw the back right leg, start from the thigh.
Add an oval shape that covers the majority of the bottom circle you drew for the lower body.
This wolf is sitting on its back legs as it’s howling, so draw the part of its leg that’s touching the ground as an oval shape that’s as long as the thigh:
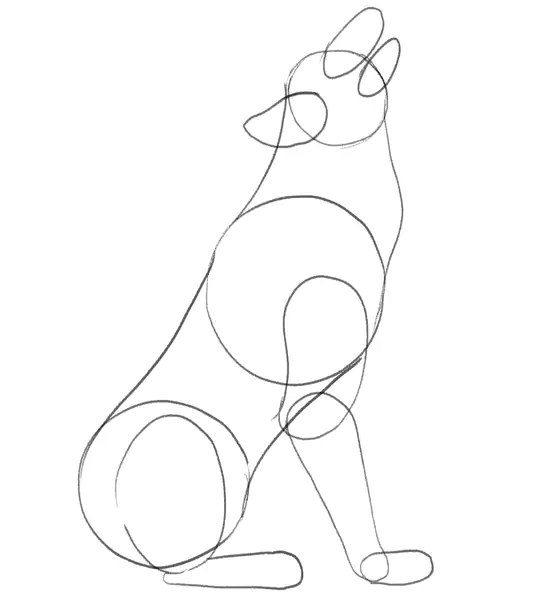
Step 3. Draw The Ear And The Mouth
Recommended tool: H pencil
The two final body parts we’ll draw are the right ear and the mouth.
For the ear, draw a wing-like shape with a pointy end on the left side.
The ear should cover one-third of the head:

To add the mouth, simply draw two oval shapes, like two small loaves of bread, with the upper loaf bigger than the bottom one. Leave some room between the two shapes because this wolf has its mouth open:
Step 4. Outline Your Wolf Drawing
Recommended tool: HB pencil
The hardest part of creating your wolf drawing is over!
Now it’s time to bring your wolf to life and add details to your sketch.
For this step, we suggest using the HB pencil because you want to highlight parts of the wolf’s body and make the lines pop.
Start from the mouth and connect the upper lip with the lower. As you do that, add a few tiny and pointy teeth inside the wolf’s mouth.
Draw the nose by adding a small dark circle at the upper right corner of the top lip.
While you’re there, add a closed eye; you can sketch it as a short, diagonal line right under the top circle you drew earlier to position the head.
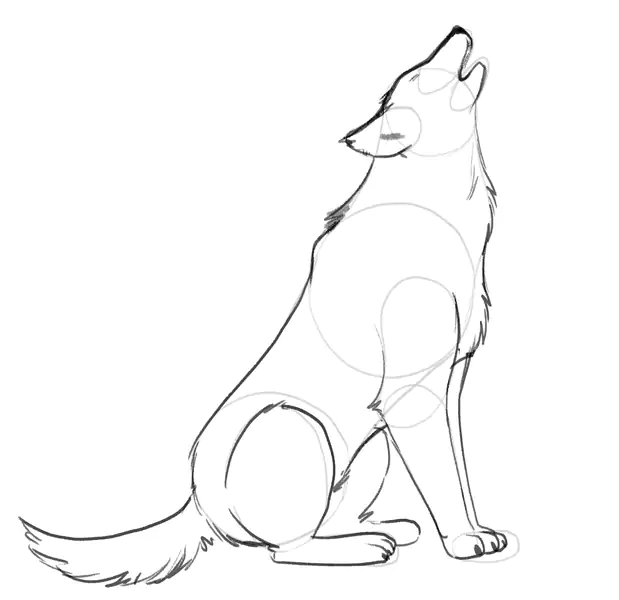
Then, connect the top side of the circle with the mouth and continue to outline the ear and the back:

Next, add the tail and outline the legs and the chest.
At this point, it’s time to add the legs on the wolf’s left side.
They’re not that visible and to sketch them, simply copy the shape of the front and back legs you previously drew.
Don’t forget about the claws! Add them to the front legs as tiny dark ovals.
Oh, and while you’re outlining, create a few short lines that stick out outwards to make the fur look fluffy:
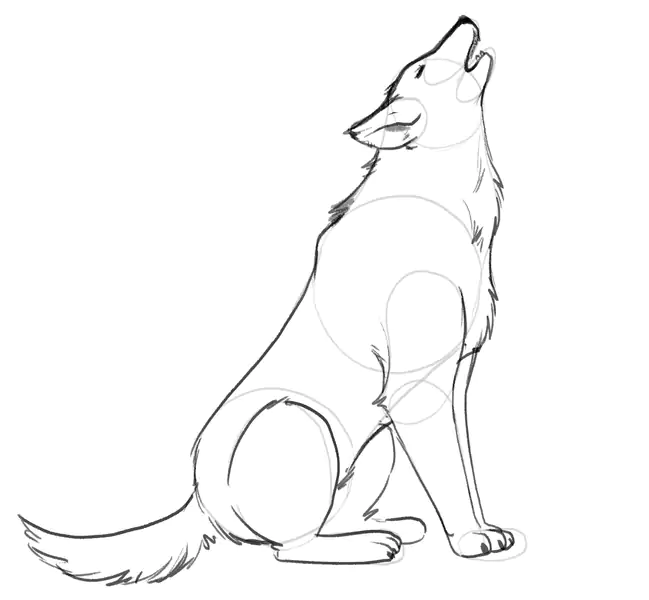
Now, go over all the lines to make them more pronounced.
Also, add a few more short diagonal lines on the wolf’s chest, to amplify how rich its fur is:
Step 5. Shade Your Sketch
Recommended tools: B pencil and a kneaded eraser
The fifth and last step to drawing a wolf is to shade the sketch!
That’s why we recommend switching to a B pencil.
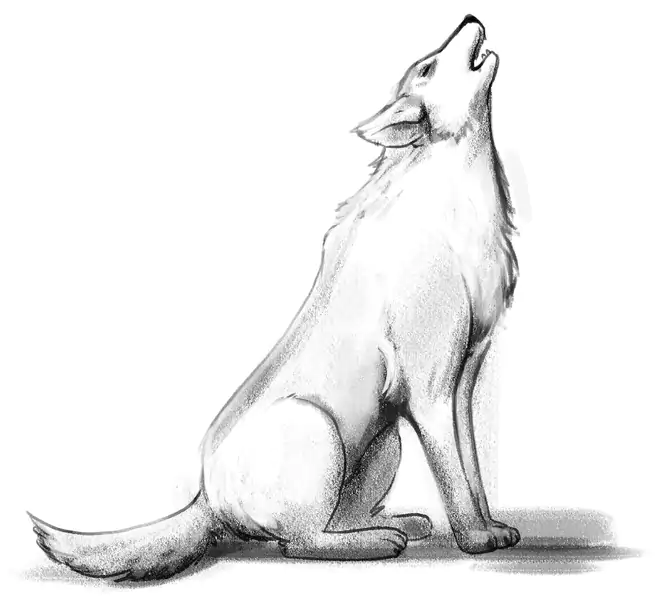
The most obvious places that are darker than the rest of the wolf’s body are the legs on its left side.
So, shade them whole, like so:

Since we positioned the source of light on the wolf’s right side, leave its head and the mid-section of its chest and lower body light.
Make the bottom of the wolf’s tail and its chest dark; as for the rest of its body, feel free to use your eraser to highlight certain points, such as the upper part of the legs on the right.
And since you probably don’t want the wolf to look as if it’s suspended in the air, add some dark horizontal shade under its body:

To wrap up your sketch, use an eraser to get rid of the lines on the inside of the wolf’s body that you no longer need:
Finished Your Wolf Drawing? Try These Next!
Okay, Picasso, you ready for more drawing tutorials?
If you’d like to learn how to draw more animals, check out our tutorials on:

Meet The Artist
This beginner-friendly guide on wolf drawing was created by Goncalo Lopes — an artist stemming from Portugal with an impressive portfolio.
Aside from creating comic books and video games, he has an envy-worthy experience on some pretty big movies and TV shows, including Transformers, Adventure Time, Godzilla, GI-Joe, TMNT and more.
A Recap On How To Draw A Wolf
To learn how to draw a wolf the easy way:
- Use basic geometrical shapes, such as circles, to determine the wolf’s size and position its head, chest and lower part of its body
- Add oval shapes for the mouth and the legs
- Connect the geometrical shapes to create the outline of the wolf’s body
- Shade the sketch
- Erase all unneeded details

FAQs
1. How do I capture the anatomy of a wolf in my drawing?
The best way to accurately depict the wolf’s anatomy is to use simple shapes to position the wolf’s body parts and define its size. Starting slow and simple is the safest way to get the wolf’s proportions and anatomy right.
2. What are some common mistakes to avoid when drawing a wolf?
One of the most common mistakes people make when drawing a wolf is not paying enough attention to getting the shape and the size of the head right. We can’t stress enough the importance of using basic shapes, such as circles, during the sketching phase.
3. How should I draw a wolf’s fur?
When you’re learning how to draw a wolf, you don’t have to go into too much detail when sketching fur. To avoid having it look uniform, though, add the lines that stick out outwards here and there — that will help you create a rich-looking fur the wolfs are known for.


