Related Resources
Did you know that bats are the only mammals that can fly? Plus, they can produce echolocation — meaning they can locate objects through reflected sound. Pretty cool stuff!
Oh, and they can also turn into a superhero/vigilante named Batman if need be.
JK about the last part, but the tiny mammals are pretty remarkable either way.
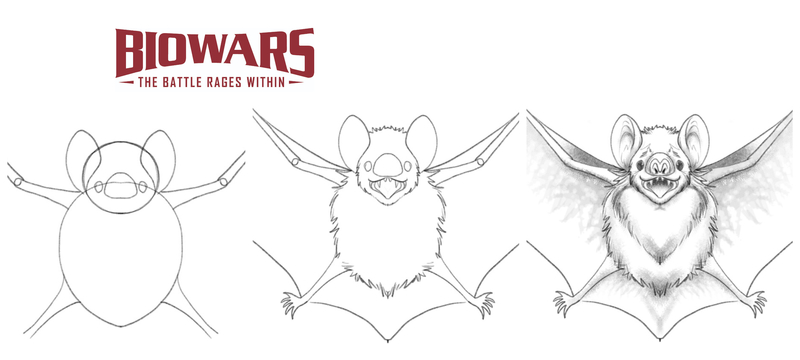
In this guide, we’re going to show you how to create your bat drawing in only seven steps:
If illustrations work better for you, read on, and you’ll discover images for every step of the bat drawing.
Sketching Tools To Draw A Bat
Tools you might want to use for your bat drawing include:
- An H pencil: A hard lead is ideal for sketching because it leaves a light trace on the paper. So, when outlining a bat, an H pencil is the way to go.
- An HB pencil: A medium-hard lead is a good choice when adding fine details to the sketch and softly shading it.
- A B pencil: A soft lead leaves the darkest trace on the paper of the three, so it’s the best option when you’re shading.
- A kneaded eraser: You can shape this type of eraser however you like, so you can easily erase even the trickiest bits.
- Lightly textured sketch paper: This paper’s soft surface is perfect because your pencil can easily glide over it and it’s also easier to erase unneeded lines.
You don’t *have* to use these tools. Feel free to try them out, but use whatever tools you’re comfortable with!

How To Draw A Bat In 7 Steps
When you’re a beginner, the best trick to drawing a bat (or pretty much anything else) is to sketch one part of its body at a time. And to rely on geometrical shapes as much as possible!
Here’s how that works in practice.
1. Draw The Body
Recommended tool: H pencil
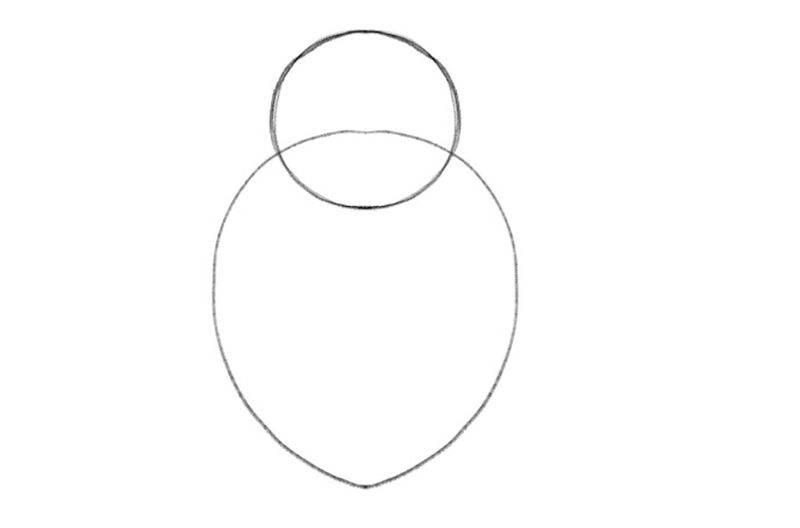
The first step to drawing a bat is to outline its head.
To do that, let’s draw a small circle, since the bat’s head isn’t that big.
Place the circle somewhere close to the center of your paper, since you’ll need a lot of room for the wings:

Now it’s time to draw the bat’s torso.
You can shape it like a balloon — start wide at the top (have the balloon cover one-third of the head) and make the bottom part narrower, like this:
2. Draw The Nose, Eyes And Ears
Recommended tool: H pencil
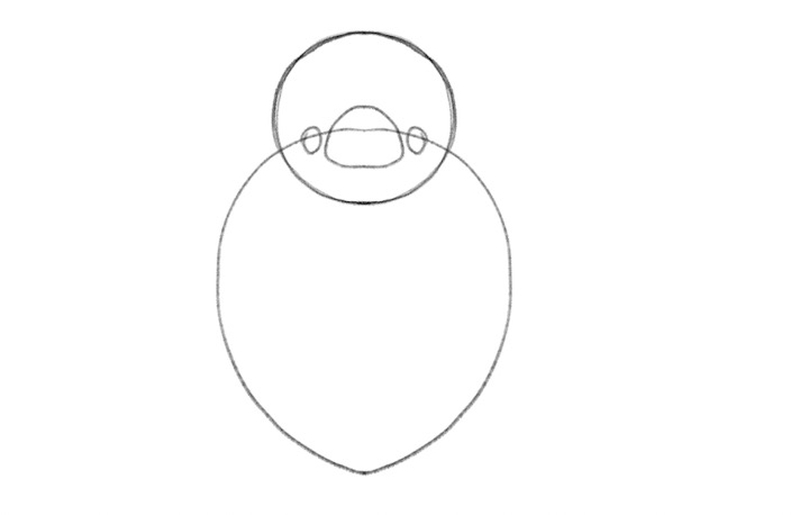
Now, let’s draw the bat’s nose.
Sketch it like a round mushroom top and have the top of the torso pass through the upper half of the nose.
Next comes the bat’s eyes.
Draw them like two small oval shapes and place them on either side of the nose. The upper torso line should run through the upper half of the eyes:
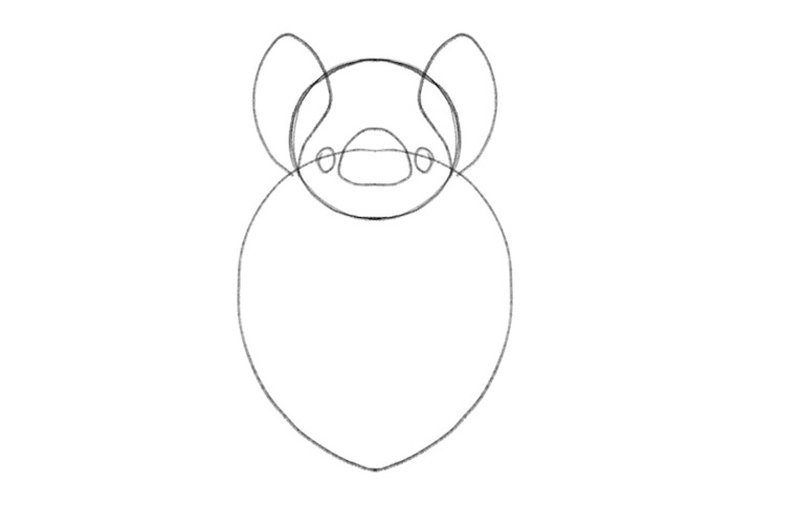
Bats’ ears are large compared to the size of their head. This comes as no surprise because their ears have the same function as ship sonars (remember echolocation from before?).
The ears have a recognizable leaf-like shape. They’re narrow at the tragus where they’re attached to the head; then they widen in the middle and finish with a sharp-ish tip.
Let’s draw the ears, starting from the point where the torso and the head meet. The ears should be by about one-third slightly longer than the head:
3. Draw The Legs And Arms
Recommended tool: H pencil
Now it’s time to give this little fella legs.
Tiny as they are, bats’ legs are important — the claws on their feet allow these amazing mammals to hang upside down when they’re asleep.
Attach the legs to the lower half of the bat’s body and make them narrower as you get toward the feet.
Don’t draw the feet yet; instead, leave the space between the two lines of each leg open:
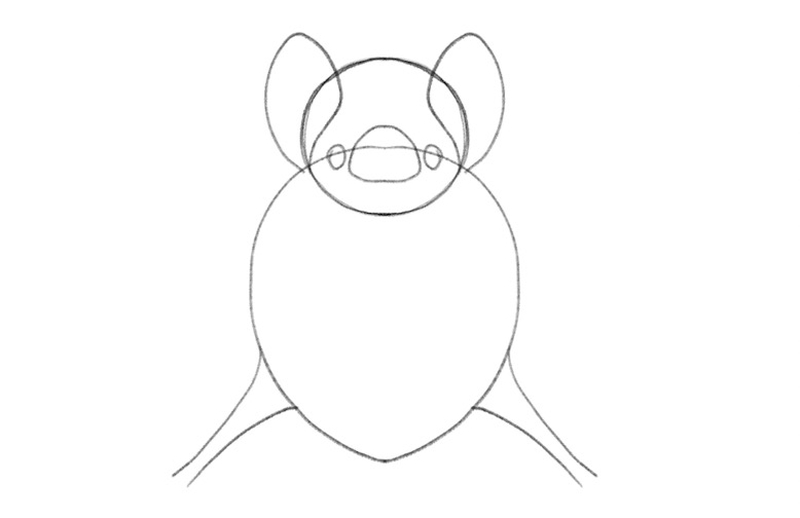
Next, it’s time to draw the bat’s arms.
They’re rather long, so we’ll show you how to draw them in three steps.
First, draw the part from the shoulder to the elbow. This part is the same shape as the legs, except that it’s smaller:
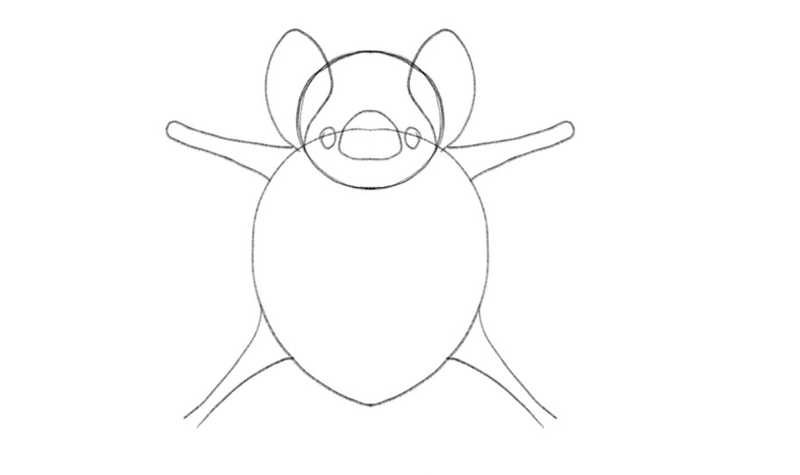
The second part of the bat’s arms is the forearms. Draw them long and slightly curve them:
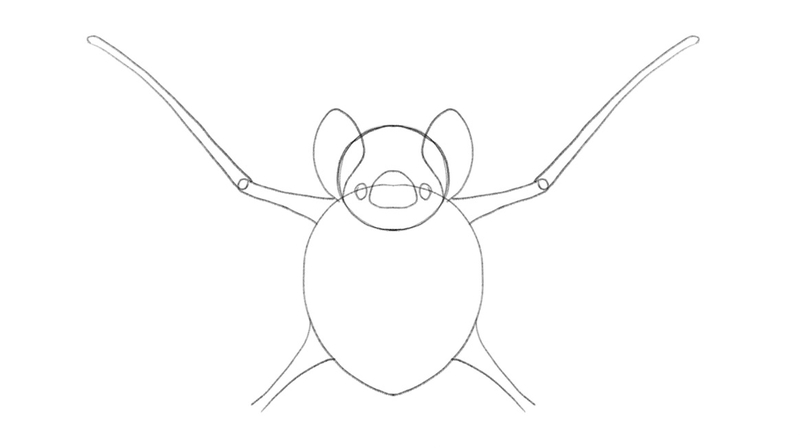
The third part is the longest of the three. This is actually the bat’s finger!
Yep, these flying mammals have fingers, except that theirs look a lot different than ours — bats’ fingers resemble elongated, thin sticks.
So, let’s draw such a shape and attach it to the arm:
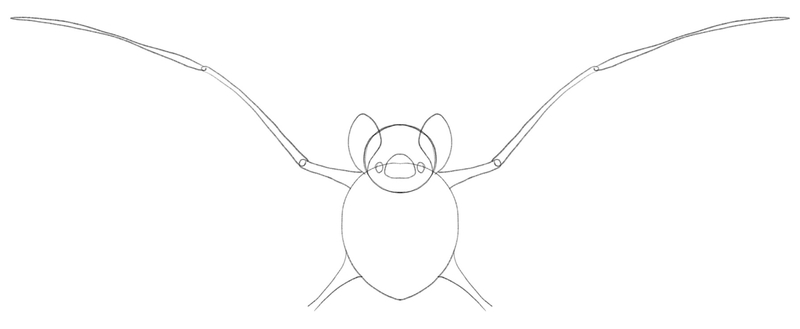
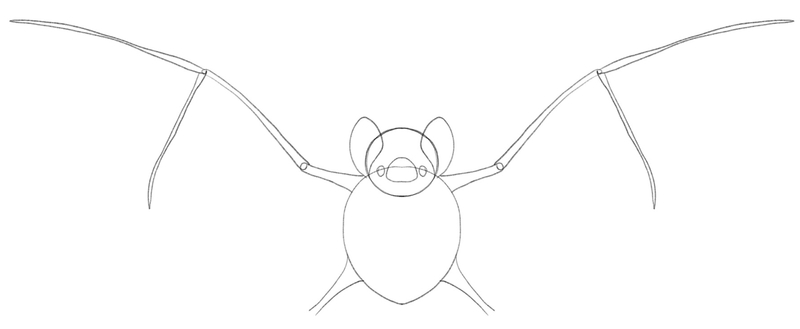
Now, let’s add two more fingers.
First up, draw a finger on either side, starting at the point where the second and third arm part meet. Make these two fingers almost vertical, like so:
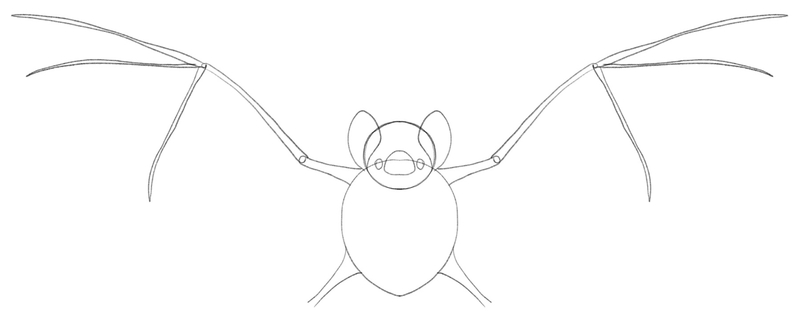
Add one more finger at the same spot on both sides, but this time, make the fingers horizontal:
4. Draw The Wings
Recommended tool: H pencil
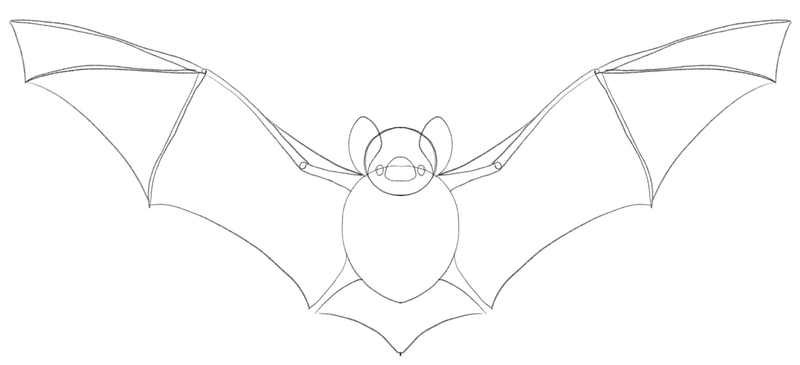
Once the arms, fingers and legs are in place, drawing the wings is easy.
All you have to do is connect the bat’s extremities with inward-curved lines, like this:
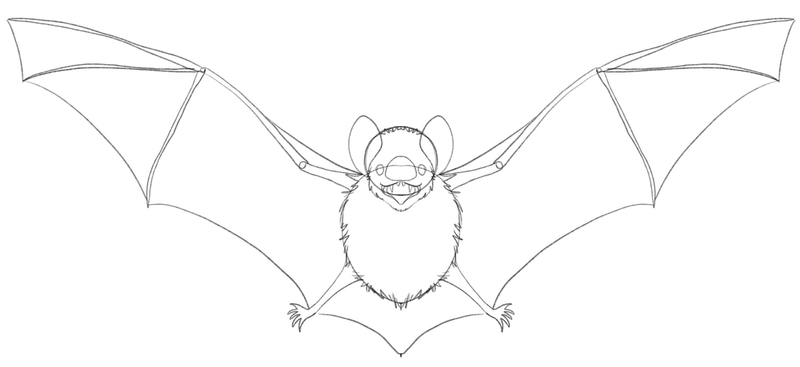
5. Draw The Claws, Fur, Mouth And Teeth
Recommended tool: H pencil
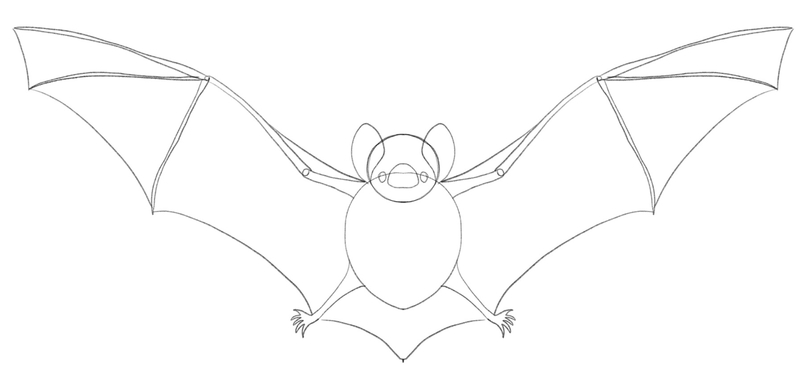
We mentioned earlier that bats have claws at their feet, and now it’s time to add them to the sketch.
At the end of both legs, add five claws:
Now, let’s give this guy a mouth and teeth.
Draw the open mouth right after the nose and make the upper lip touch the bottom of the nose.
Bats have between 20 – 38 teeth, including sharp, long fangs.
Draw two tiny teeth at the front, then add longer fangs on both sides of the bat’s mouth.
Next, let’s draw some fur on the bat’s body and a little bit on its head.
Simply add zig-zag lines following the shape of the bat’s body and its head, like so:
6. Erase Unneeded Lines
Recommended tools: kneaded eraser
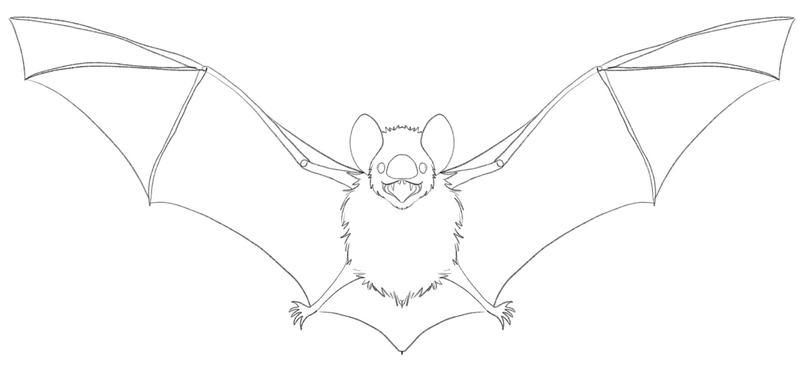
Your bat outline is now ready, so it’s time to get rid of all the lines that you no longer need.
Erase the lines that go through the ears. Be careful around the fur; the sharp lines of the balloon outline and the circle you drew as the foundation for the head shouldn’t be visible behind the fur:
7. Add The Finishing Touches And Shade Your Bat Drawing
Recommended tools: HB and B pencils
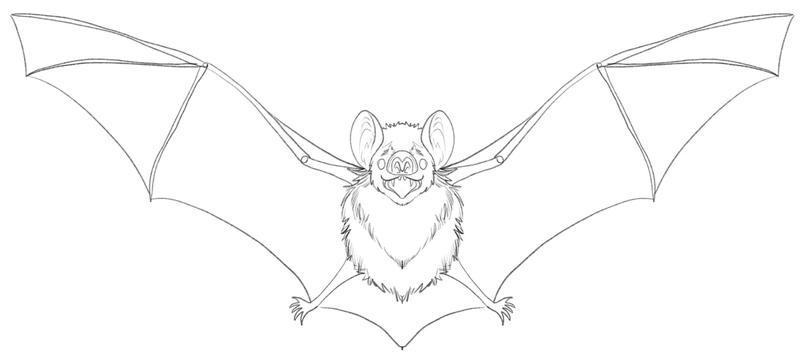
Using your B pencil (or simply by applying more pressure to your pencil of choice), go over the outline of the bat’s body, to make the lines more pronounced.
Then, add more details to the sketch, including the eyes, more fur on the bat’s chest, round cheeks, and layers inside the ears:
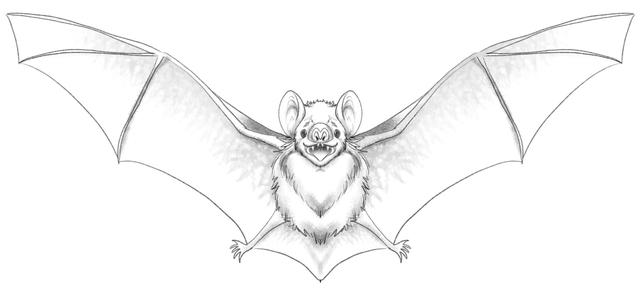
Finally, use a B pencil to gently shade your bat drawing.
Add darker grey hues around its arms and the fur. The shade should become softer the further away from the bat’s body and arms you get:
Finished Your Bat Drawing? Try These Next!
Are you up for some more art tutorials?
We have a bunch of them ready, including more guides on animal drawing, including:
We even have a tutorial on how to draw a dragon step-by-step!
Meet The Artist
This easy guide on bat drawing was created by the resident BIOWARS artist — Goncalo Lopes.
Throughout his career, he’s worked on numerous exciting projects related to comics, movies, TV shows and more.
Some of his most notable collaborations include Transformers, GI-Joe, TMNT, Adventure Time, Godzilla and many others.
You can learn a lot from a guy with a career like Goncalo’s, so follow his guides and you’ll learn how to draw in no time!
A Recap On Bat Drawing
When learning how to draw a bat, the most important thing is to sketch one part of its body at a time.
That way, you’re guaranteed to create a proportionate sketch.
To draw a bat:
- Draw the head and torso
- Draw the eyes, nose and ears
- Draw the legs and arms
- Draw the wings
- Draw the mouth, teeth, claws and fur
- Remove unneeded parts
- Finalize the sketch and shade it
