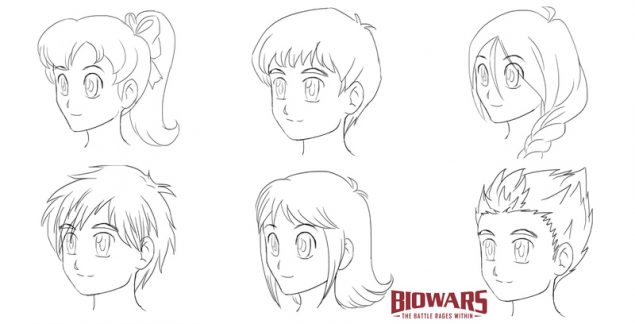
Related Resources
Whether you’re putting pencil to paper or diving into any number of software programs designed for your inner artist, Biowars is here to provide you with some basic step-by-step instructions on how to draw superheroes – oh yes, and villains.
It doesn’t matter if you’re just starting out or you’re already a full-fledged doodling expert, the process of drawing comic characters often comes down to just a few fundamentals that can give you a great start in creating your own comic book characters, and potentially launching your own digital or print comic book.
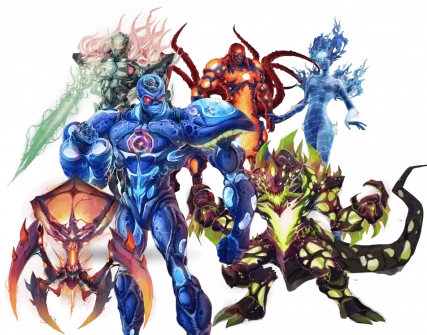
How To Draw A Comic Book Character: The Video Tutorial
The BIOWARS artist Gonçalo Lopes created several easy-to-follow video tutorials to show you how he drew BIOWARS comic book characters, both good and bad guys included.
For starters, you can check out how he drew Sutura‘s hair. She’s a fibroblast and a healer within the BIOCOSMOS:
If you need help drawing a comic book character’s mouth, check out how Gonçalo drew Viron‘s mouth. He’s one half of the fearsome Z-Kron microbe (Raze is the other!):
Gonçalo also filmed a guide on drawing Sensurian‘s mouth. She’s a messenger cell of the Central Nervous System:
Another helpful video on drawing comic book character’s mouth is this tutorial on drawing Raze’s mouth. He’s a Z-Kron microbe in the BIOVERSE:
And if you struggle to draw a fearsome facial expression on your characters, watch this guide on drawing Blastor’s expressions:
Blastor is the B-Cells commander and protector of the Biocosmos.
Gonçalo also created a video guide for a comic book character named Scathe — the brave BIOWARRIOR and a macrophage that protects the BIOVERSE:
After you finish watching the tutorial, grab your pencil or get your mouse ready, because we’re going to break the video down into six steps and take you on a journey to the far reaches of your own creative universe.
How To Draw A Comic Book Character
Alright, comic book fans, let’s get started!
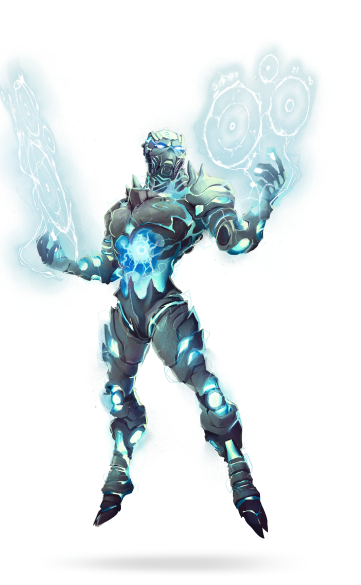
Step #1: Visualize Before Drawing Your Comic Book Character
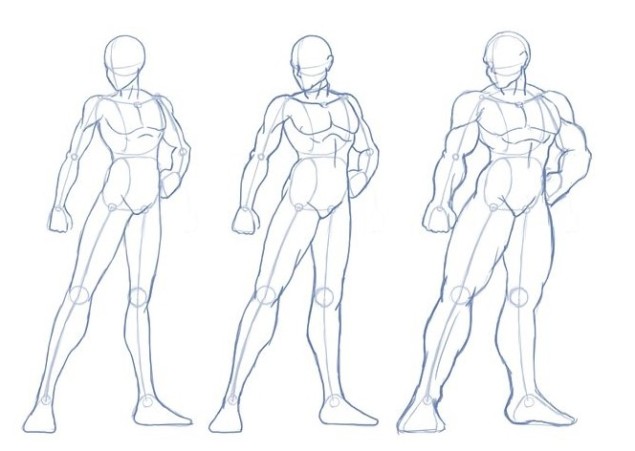
Before even drawing a single line – visualize! Establish a basis to build your character on. Think about their pose, placement and proportions.
Constructing your character’s pose and placement will give you an idea about how to draw the same figure and head shot from multiple angles and points of view. This will help jumpstart your process of learning how to draw from various perspectives.
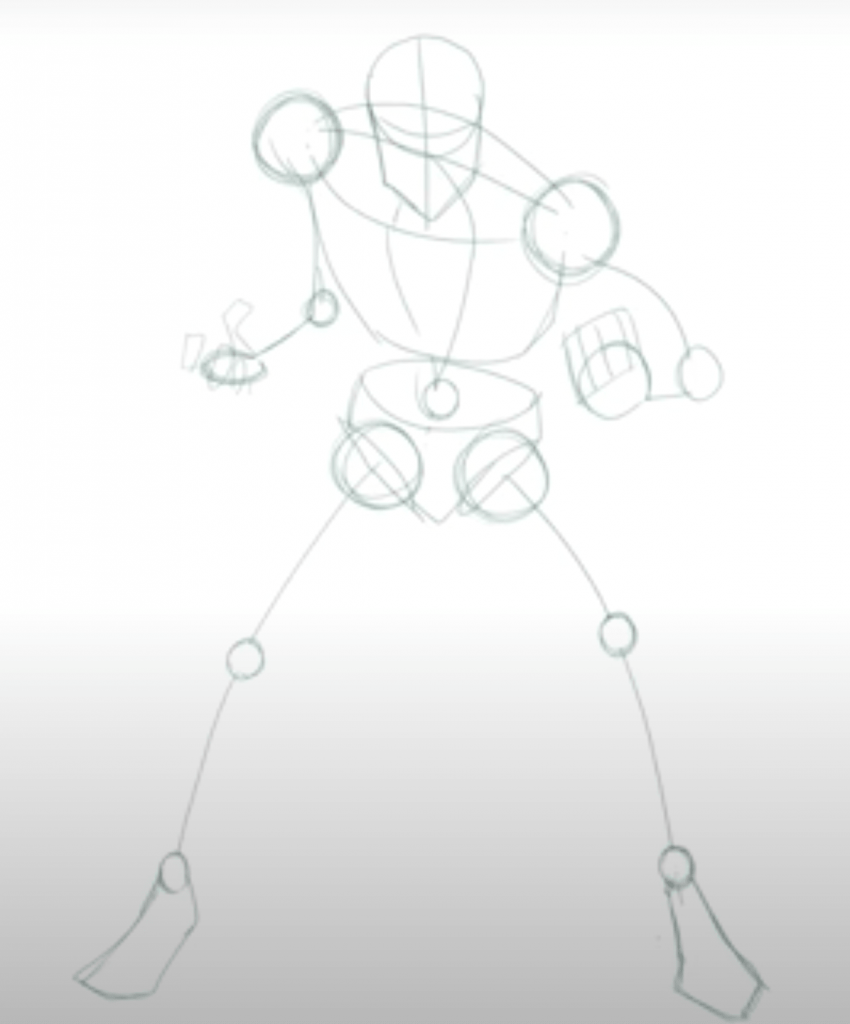
Step #2: Sketch A Stick Figure
Drawing a stick figure doesn’t sound like it should be part of the process, but that’s how nearly every artist in the comic book industry gets started, before fleshing out their design.
Not only will you decide on the action your hero is engaging in during this step, but you’ll also make sure your figure has the appropriate dimensions laid out before getting too far into the drawing process when it’s much harder to make adjustments.
On average, the male and female superhero is 7-1/2 heads tall, so whatever size you make your hero’s head, make sure their body is roughly 6-1/2 heads long from where their neck begins and their feet end.
On the other hand, if you’re deliberately creating a comic book character that laughs in the face of convention, then by all means – get creative!
Step #3: Draw The Head & Face
The most important features for identifying your character – and, arguably, the most difficult to get right – are the head and face.
The shape of the head is what gives the character their expression and personality. A square, round, or triangular head all lend a different feel to the character’s persona. Another feature that can create a unique, recognizable shape is uniquely formed hair.
In order to draw your character’s head from multiple angles, it is a good idea to use two basic head shapes as a starting point and mash them into the final approximate form.
This technique of constructing a character from basic shapes underlying the head is used in animation and is highly recommended for comic book art as well.
For the “seed” of the head, start with a sphere, then hang a pointed jawline at various angles. Draw a cross that will divide the center of the face and define where the eyes will be. You should use this seed shape to draw the head from any angle.
Another basic head shape, more akin to classic superhero characters, is an egg shape. After drawing the egg, draw a cross to determine the direction the head is facing.
Then, you’ll want to hang the jaw down again. Except, unlike the previous head shape, the jawline will change more drastically between the profile and frontal view. It should be more of a wedge-shape and drawing this from every angle will require more practice.
This is the process of drawing a rough draft of the entire head. Before you complete the final drawing, you’ll be able to add more detail.
One important thing to be aware of during this process is how the face translates across and between various angles.
Bear in mind some basics of human face anatomy: the line running through the eyes is about halfway between the top of the head and chin; the nose tip is approximately halfway between the eye line and the chin; the mouth is halfway between the nose and chin and so on.
Drawing details like hair and drawing head from multiple angles is not an easy feat. The best way to practice this is to draw from life: copy photos or research an artist that was particularly good at getting the details just right.
It is important to expand the visual vocabulary for drawing faces, expressions and heads through practice. In time, you will be able to combine and mix various elements of your own that will create a unique character that is solely your own.
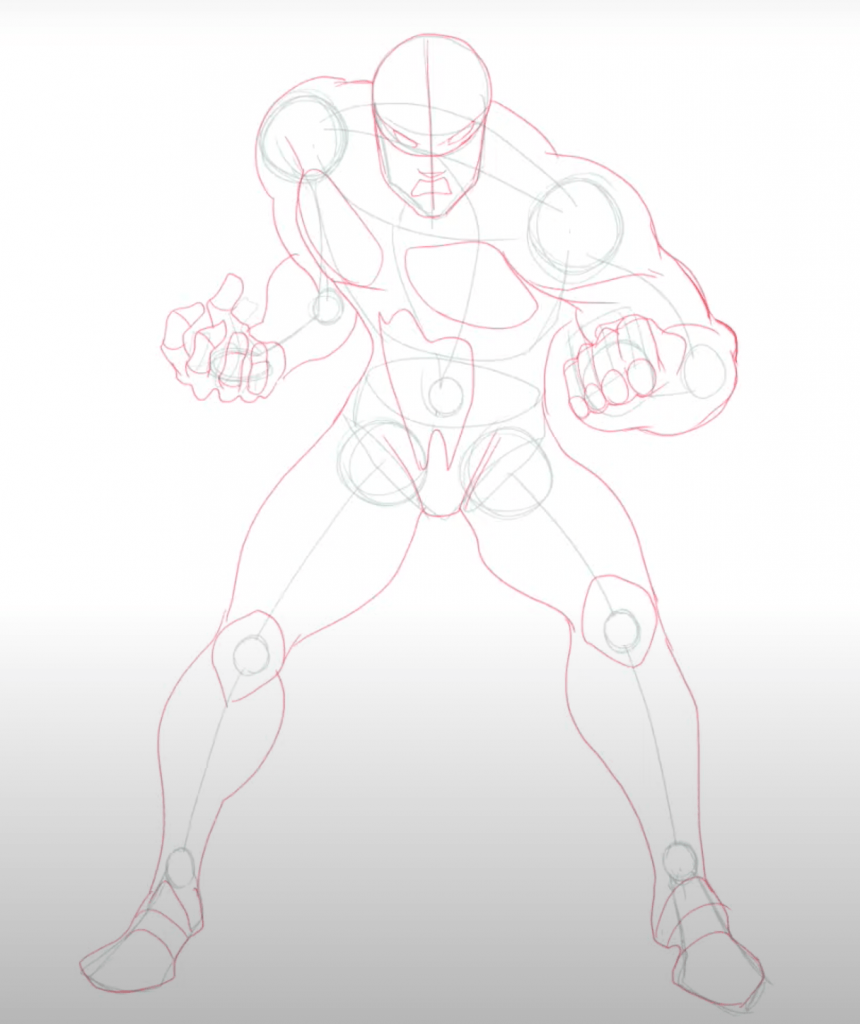
Step #4: Sketch The Muscle & Bone
The next step to drawing your superhero or villain is creating a lifelike structure on top of your stick figure.
If you’re drawing a human comic book character, then you have a pretty good idea of what an average person looks like in terms of their skeletal and muscular structure; but drawing it is another matter altogether.
For beginners, it’s now a good time to do a little study of human anatomy. Examine the human skeleton and see how the bones connect and manipulate in various positions.
Add to this a quick study of the layout of human muscles in relation to bones, and pretty soon you’ll have a fairly good idea on how to tackle everything from elbows and collarbones to pecs and biceps.
Of course, if you’re drawing an alien comic book character, this is your chance to really let your creativity shine – though you should probably still have some kind of system in place to make sure your character is somewhat recognizable upon completion.
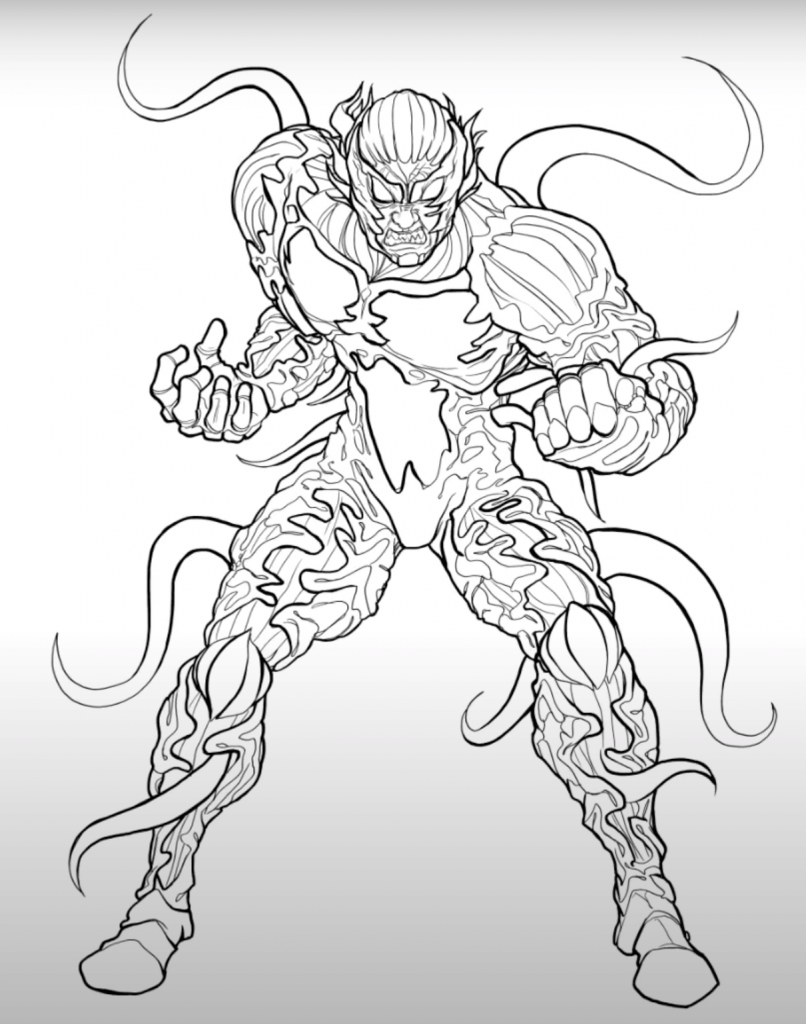
Step #5: Fill In The Details
Now the real fun of drawing your own superhero begins to take shape. This is where those who started with a pencil and paper will have to break out an eraser for a little editing session, while those working digitally may have to erase a few lines on their screen.
For many comic book artists, a top-down approach to the designing process works best. To do it this way, start by drawing in the features of your hero’s face, and putting the finer details on their hair, ears and anything else you want to add in this general area.
Then, draw the rest of your hero, which may include customized clothing, accessories and weapons.
If you’re not great at it right away, don’t allow yourself to obsess over the little things. Not a single comic book artist was great at drawing right away – it really does take passion and persistence.
While you may struggle in the beginning, such as drawing hands or feet, just know that many who became master artists in the comic book world had these same difficulties when they first got started.
Step #6: Add Color To Bring Your Character To Life
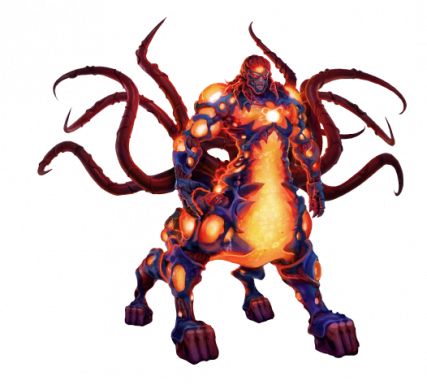
Now that your drawing is nearly complete, add some final touches by putting some color on your character’s canvas.
In comic books, heroes tend to be made up of lighter shades on the color spectrum, while villains often receive darker treatments in order to help them exhibit a more complex and troubling persona.
Really, though, it’s up to you and how you want to personalize your character. What’s most important is enjoying the entire creative process.
Takeaways On Drawing Comic Book Characters
In a nutshell, the general step-by-step guide for drawing a comic book character consists of these steps:
- Define and visualize the proportions, placement and pose for your character
- Create the form of the character’s anatomy in order to establish their body shape
- Be aware of the character’s consistent presentation from various angles
- Decide on lighting so the character’s forms are shaded correctly
- With the above in mind, decide where to drop in shadows throughout the character design
- Render the form with fine lines and emphasize key interest areas with contrast
- Render a variety of materials in such a way they look different from one another
- Use sharp and slick lines to ink the character design contours
- Add tonal values and contrast to enhance the design readability
- Create a consistent and pleasing color palette
- Add depth and dimension to your character with multiple lighting passes
- Tweak the color saturation, contrast, brightness and hue
- Use cool and warm tones so the lighting looks more realistic
- Inform the design via reference images to bring the character to life
- Create a sense of the character’s movement with gestural lines
It will take a lot of effort, a lot of error and even more painstaking practice – but if you put your mind to it, there is no stopping you.

